
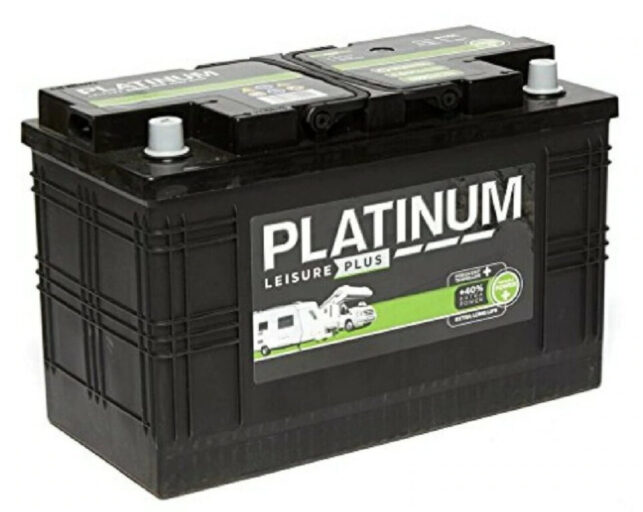

Most of us have vans with a leisure battery installed and it is always nice to know it’s condition as this will usually forewarn us of any pending failure.
Types of battery meter
There are many cheap voltmeters available to order online and some come already integrated with USB sockets.

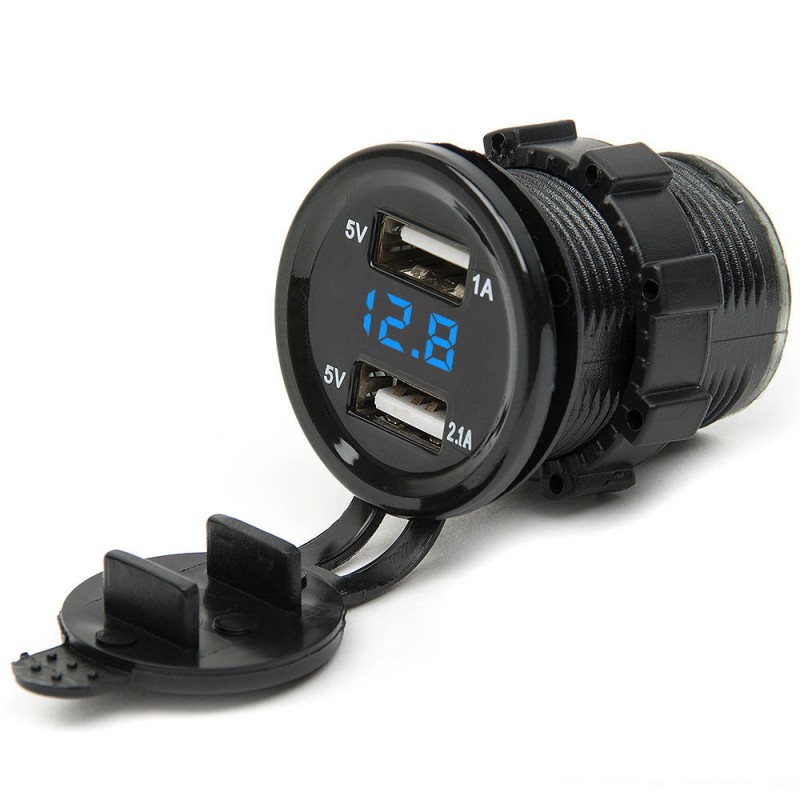
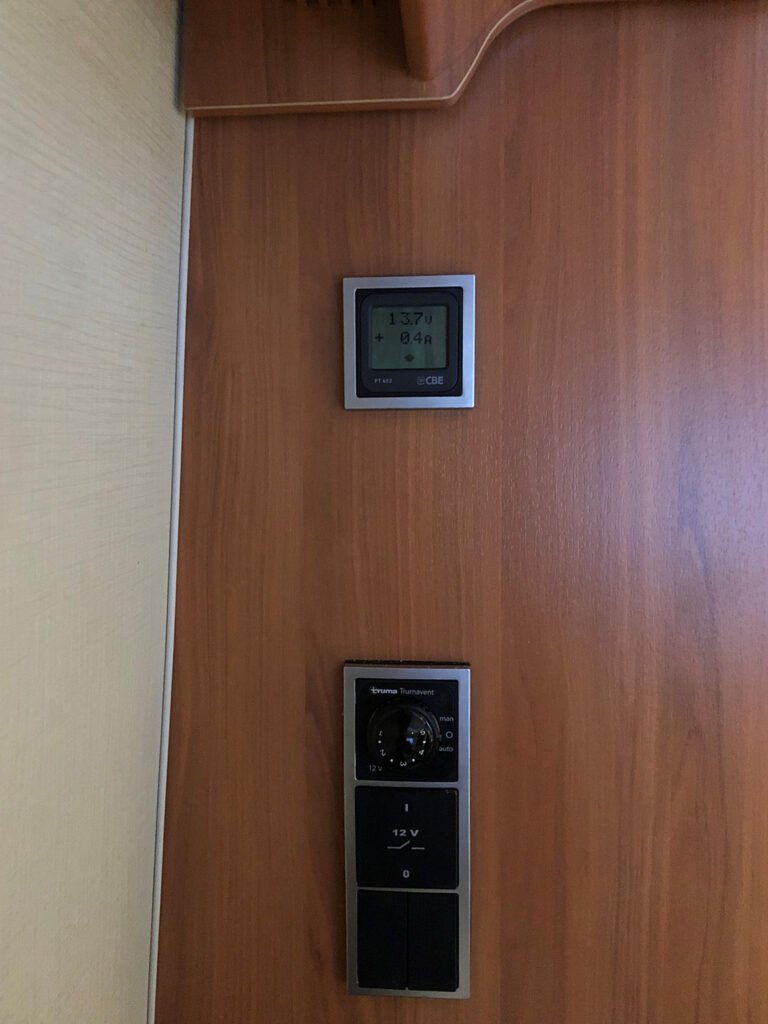
The most basic meters use a series of LEDs to indicate the level of battery charge. Others display the battery voltage and work on the assumption that when this is between 13.5V and 14.5V, the battery is being charged. Likewise, when the voltage starts dropping below around 11V it shows a level of discharge and values below this can indicate poor battery health. However, the true measurement of whether is battery is being charged or discharged is current and not voltage. Amps shows us the flow of electricity to and from the battery, a positive value indicating charging, a negative value indicating discharge. Voltage shows the battery state when it is being neither charged nor discharged and so is still a useful indication. I decided for this reason to install a combination meter showing both Volts & Amps.
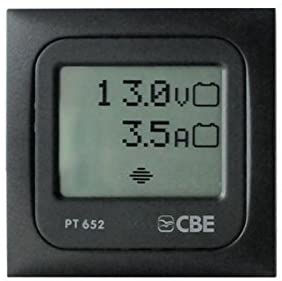
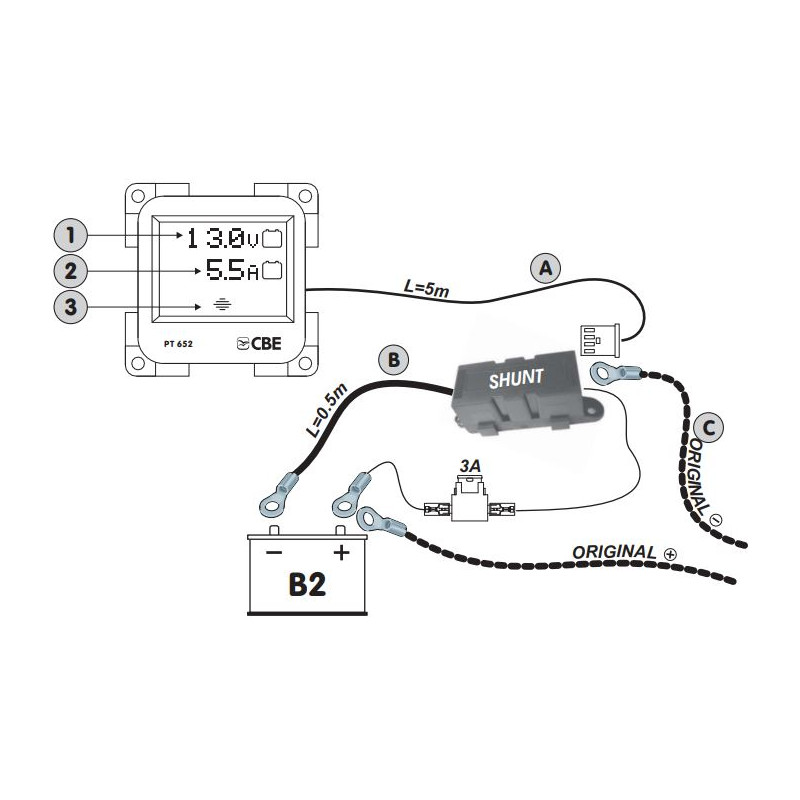
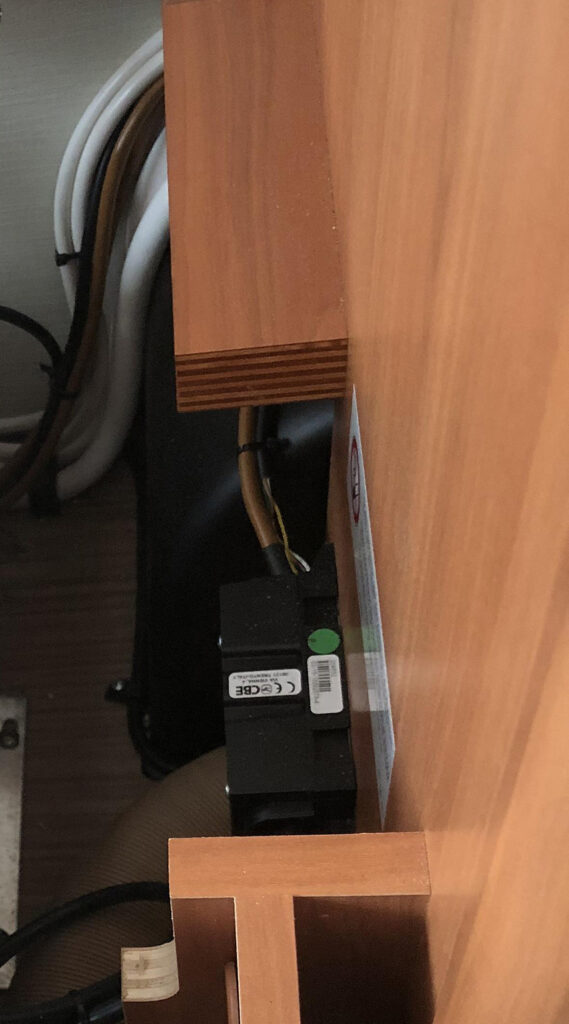
In order to maintain the aesthetics of the Eriba, I bought a rather expensive module from CBE which fits into the standard switch/socket surround already found throughout the van. The display illuminates briefly when touched. In addition to the panel meter, the kit consists of a heavy duty shunt resistor and all necessary cables. The shunt generates a voltage proportional to the current flow. Connecting everything together is straightforward as shown in the following diagram:
Installation
Required tools and materials:


I had already decided to mount the display next to the other switchgear on the wardrobe wall. This involves cutting a large hole in the side of the wardrobe so is not for the faint of heart. The leisure battery is conveniently mounted under the rear dinette seat and next to the wardrobe.
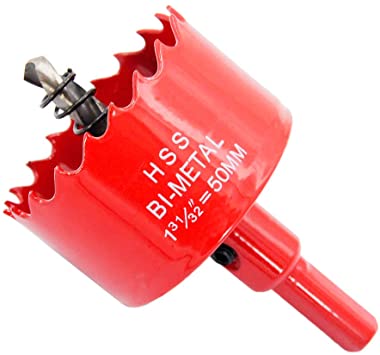
Preparation is everything and the desired position must measured and marked accurately. I would always advise to start by drilling a 3mm pilot hole in order to check that the placement is indeed correct before committing yourself. I applied masking tape on both sides of the panel taking care to completely cover the area which will be cut; this helps to prevent any splintering around the edge of the hole. I cut the hole using a 50mm fine-toothed hole saw. The drill must be held completely perpendicular to the panel to avoid going through at an angle. It is also advisable to cut halfway through from the outside, and (using the central hole as a guide) to finish off cutting from the inside; again, this should prevent any splintering.
Next, I fixed the meter in position and attached a matching bezel.
I fixed the shunt to the inner side of the dinette seat using a couple of self-tapping screws; this was an obvious place to mount it, next to the battery. I dispensed with the inline 3A fuse and connected this wire to one of the 12V switched outputs on the CSV409 controller in the wardrobe. I chose to do this so that the display is only active when the 12V master switch is on.
Testing
Finally, with everything connected and all wires neatly routed and tied together, it was time to test. With the 12V master switch off, the display is blank. Activating the 12V illuminates the display showing both the battery voltage and current consumption. In my case the values were 13.7V and +0.4A which indicated that the battery was charging; the EHU was connected so this made sense. After a few seconds the backlight went off although it was still possible to read the display in the daylight. Touching the panel caused the light to come on again for around 5 seconds. I disconnected the external supply and with all the habitation lights on the current was now showing -0.5A at 13.0V.
So, success! The meter will always show exactly what is going into or out of the battery since the shunt is connected directly at the negative terminal. It will therefore cope with future additions such as solar charging.